Blur and Glow
We learned about the blur tag previously and how the border, shadow and fill of the text interacts with the blur. We learned how we had to duplicate the line into multiple layers to achieve full blur. In this page, let us learn how we use that concept and apply the blur to the line.
Again, we shall be using an Aegisub script to do it. From Dependency Control,
download a script called Blur and Glow and immediately bind it to a hotkey. I
bind it to letter B in the subtitle grid.
Note
If you are unable to find the difference between unblurred and subtly blurred text, don't worry? It's a learned skill. You will get used to it.
Blur
At this point, I'd be repeating myself if I say how important blur is in typesetting. Without blurring the text, your text will simply not blend in to the video. Our job as a typesetter is to never let the audience know that someone has put the text later. A text without blur will stand out like a sore thumb.
Lines Without Border
For lines without border, all you have to do is add the blur tag. Nothing fancy.
Kaguya-sama: Love is War Episode 1: 0:00:00.52
Let's take the example above and see how it looks with and without blur:


Do you notice how sharp the text looks without blur in contrast to the original text?
Lines With Border
As soon as we have border, we need to duplicate it into multiple layers. I already taught you how it works and how to do it manually. Hopefully, you did it yourself like I suggested.
However, this gets tedious really fast to do it manually. So we use the script.
- Prepare a line with proper fonts, colors, text size, fade, border and shadow size etc.
- Run the script.
- Towards the bottom right corner, change the blur value from default 0.6 to the one you like.
- Click on
Blur / Layersbutton.
Warning
If your line already has a blur tag, the script will automatically use that blur value and not the one you choose in the dropdown.
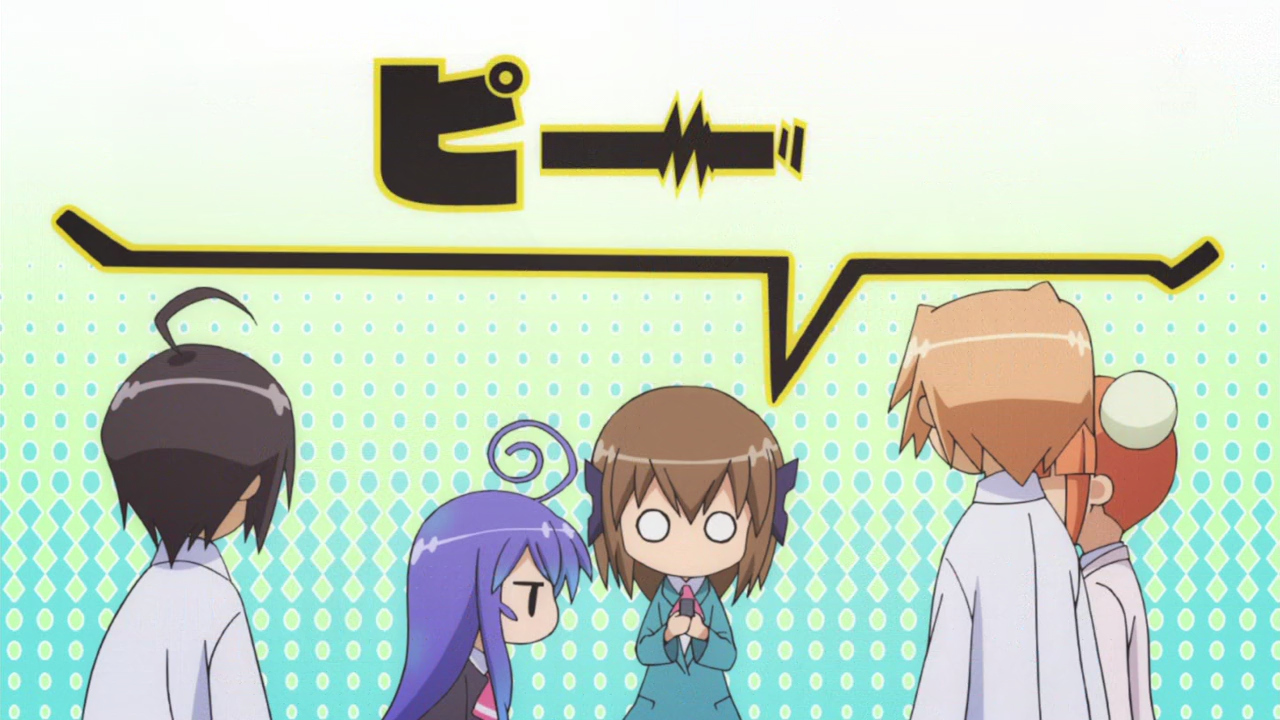
Acchi Kocchi Episode 4: 0:04:10
Glow
Outer Glow
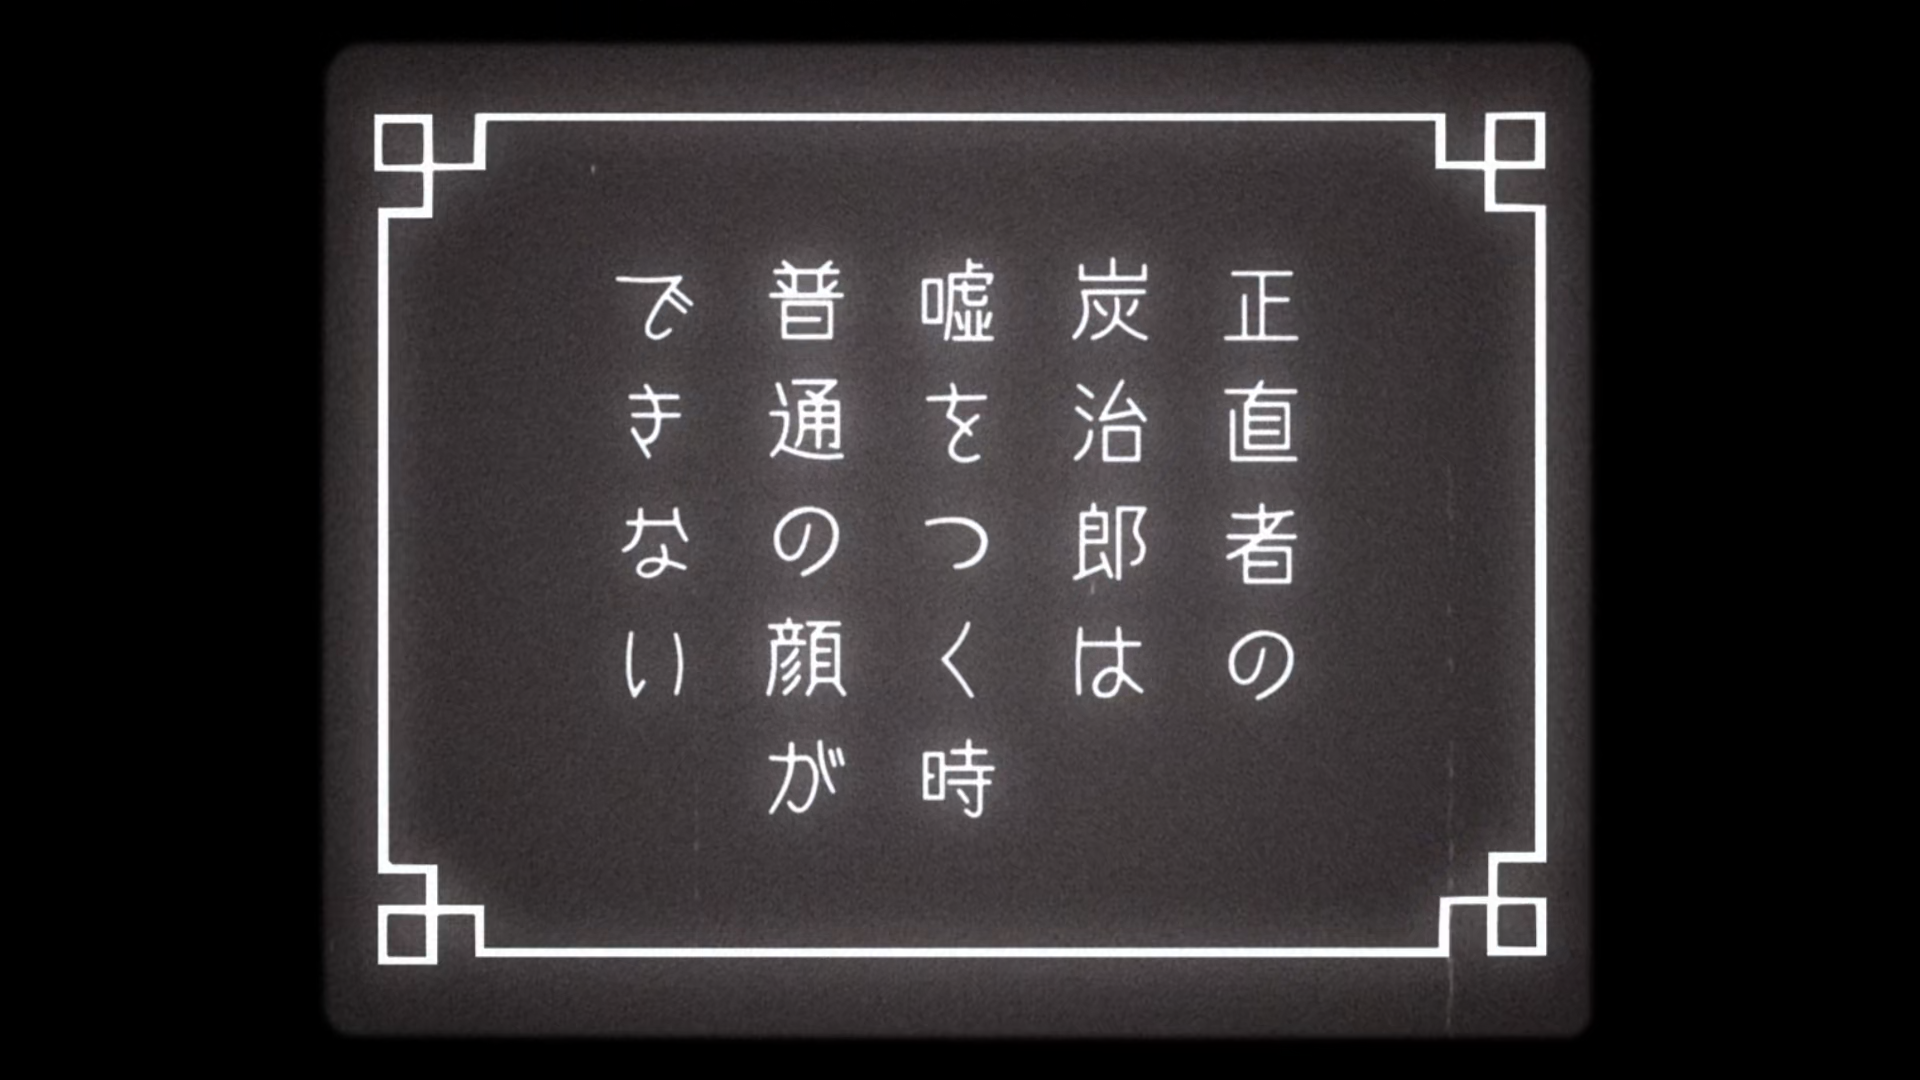
Kimetsu no Yaiba: Yuukaku-hen Episode 02: 0:17:57
We get signs like this where the text glows outwards. Let me explain how we add glow to the text manually so try to understand the logic behind it.
- We obviously blur the text like we normally would. (Single layer for text without border and double layer for text with border)
- After that, we make another layer that is lower than all the other layers.
- In this new layer, we add a high blur (At least higher blur than other
layers). The blur of the text extends outwards which will appear to be a
glow enveloping the other layers. So we can use
\blurtag to control the size of the glow. (Higher the blur, bigger the glow size) - The more opaque this layer is, higher is the intensity of the glow. So we can
use
\alphatag to control intensity of glow. - We can also use the color of this layer to change the color of glow when needed. Most of the glow is the same color as that of text.
- Kind of a hack, but you can also duplicate the top layer or glow layer to increase the intensity of glow at the expense of making the text look a bit bolder. Only use when needed and if results look better.
I duplicated the top layer and I thought it looked better so I kept it. If you want
to change the color of the glow, enable glow c: in the GUI and select the glow
color. The button Blur + Glow also does the work of Blur / Layer button btw
so if your sign has glow, it will layer and add glow at once.
Inner Glow
TODO
Double Border

Acchi Kocchi Episode 4: 0:04:26
Then there are signs like this. The text has white border but then has another red border on top of that.
By this point, even if I didn't teach you anything, you should be able to figure out how to do do this kind of sign - if you have learned the basics properly that is.
- As soon as you see the border, you'd obviously split this into two layers: top layer being red fill, bottom layer being white border.
- Now to add the outermost red border, you'd make another layer beneath the other two layer and add bigger red border. That makes it three layers for this sign. The border of this layer should be bigger than the border of layer above it.
- One border sign means two layers, two border sign means three layers and so on.
Now that we have dealt with manual approach, let's deal with Aegisub script approach.
In Blur and Glow script
- Enable
double border. - Enable
2nd b. sizeand enter the size of the second border beside it. Remember that whatever you enter here will be added to your current border i.e. if your current border is 5 and you enter 7 in the script, the size of second border will be 12. - Enable
2nd b. colorand select the color of the second border. - Click on
Blur / Layerbutton.